
How to set up online booking for your beauty business in an afternoon
What to gather first, the decisions that matter, and the order to do it in, so clients can book you by tonight.
By The GlamOps Team
8 min read
If clients still book you by DM, text and phone tag, online booking can feel like a big project. It isn’t. Most of the work is deciding things you already know: what you offer, how long it takes, when you work and what happens when someone cancels. Get those down first, and the setup itself is a few hours, not a few weekends. Here’s the order we recommend, with the decisions that matter at each step.
Before you start: gather five things
Spend fifteen minutes with a notebook before you touch any app. Having these ready is what turns an afternoon into an afternoon, instead of a week of “I’ll finish it later.”
- Your service menu: every service with its price and how long it really takes, including setup and cleanup.
- Your weekly hours: the hours you want clients to book, not every hour you happen to be in the studio.
- Your policies: how much notice you need, how late clients can cancel, and whether you take a deposit.
- Your logo and one good photo: of your space or your work. A phone photo in good light is fine.
- Your client list: if you’re coming from another booking app, export your clients (and upcoming appointments if you can) now.
1. Add your business and bring your clients
Start with the basics clients see: your business name, phone, email, address and time zone, and the web address of your booking site. Working from home or traveling to clients? Show only your city, or no address at all. Then bring your clients with you. Clients who already have a profile with your history are far easier to welcome back, and you won’t be retyping phone numbers for a month.
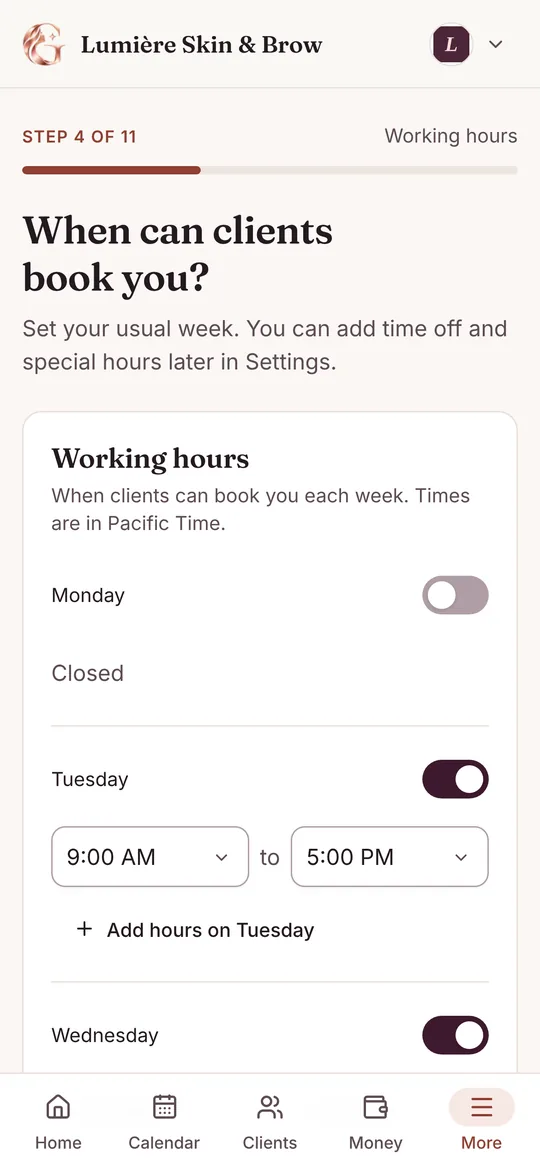
2. Set the hours clients can book
Your booking hours are a promise: any open slot inside them is fair game. So set the week you actually want, not the one you’re willing to tolerate. If you only take new clients on certain days, or you keep Fridays for regulars, start with your usual week and handle exceptions later.
- Leave a gap for lunch. If it isn’t blocked, someone will book it.
- End your hours when your last service should start, not when you want to go home.
- Add vacations and one-off changes as time off rather than changing your whole week.
3. Build a service menu clients understand
Your menu is the first thing a new client reads, so write it for them, not for you. Use the words clients search for (“Brow lamination”, not “BL + tint combo”), put a sentence under each service saying who it’s for, and group services into a few clear categories.
- Length: use the real time, then add prep before and cleanup after as their own minutes. That gap is what stops you running late all day.
- Price: the price clients pay. If a service varies a lot, say so in the description.
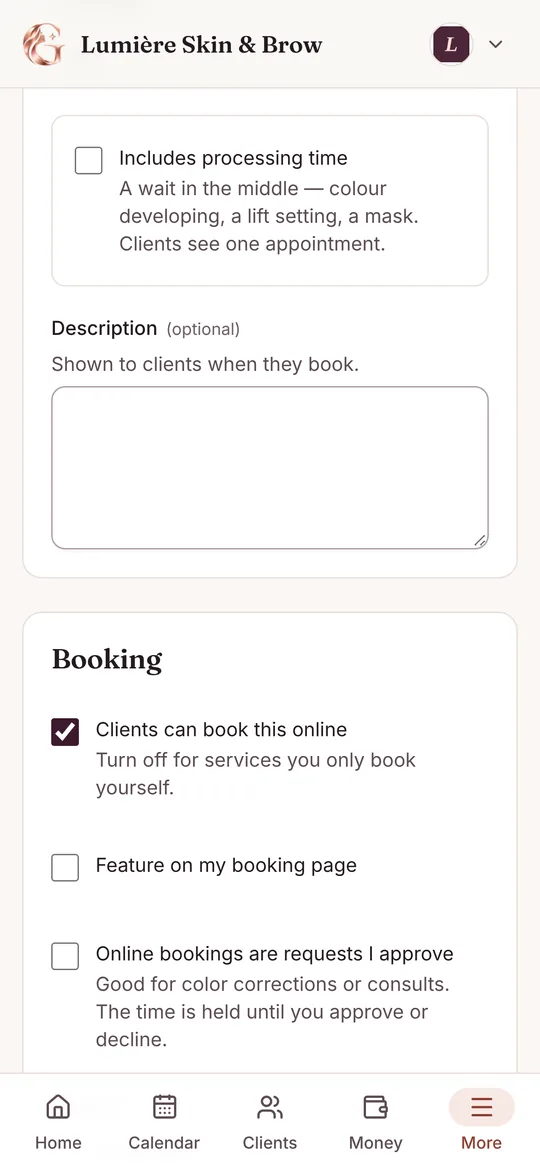
- Online or not: some services (corrections, first-time color, anything that needs a consult) work better as requests you approve, or by phone only.
- Fewer is better: a short menu with clear add-ons is easier to book than forty near-identical options.
4. Choose your booking rules
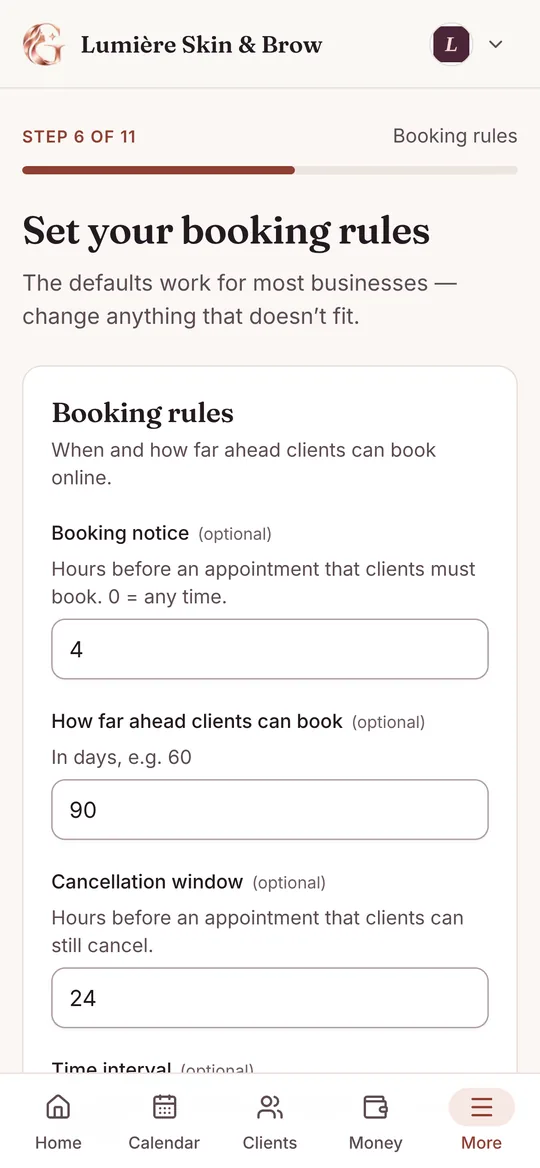
Four rules decide how your calendar fills. The defaults work for most businesses, but it’s worth a minute on each. Here are common starting points (an example, not a rule):
| Rule | What it decides | A common starting point |
|---|---|---|
| Booking notice | How close to the time a client can book | 2–12 hours |
| How far ahead | How many days out your calendar opens | 60–90 days |
| Time interval | How often start times are offered | Every 15 or 30 minutes |
| Cancellation window | Until when clients can cancel or move online | 24–48 hours |
- A short notice fills last-minute gaps; a longer one protects your morning from surprise bookings.
- A 30-minute interval keeps your day tidy if most services are 30, 60 or 90 minutes; use 15 if your menu has lots of short services.
- Your cancellation window should match the policy you write for clients, word for word.
5. Decide on deposits and connect payments
A deposit is the simplest way to make sure the client who books is the client who shows up. You don’t have to charge one for every service: many pros start with long or expensive services and new clients. We covered amounts, refunds and wording in How to stop no-shows.
6. Make your booking site look like you
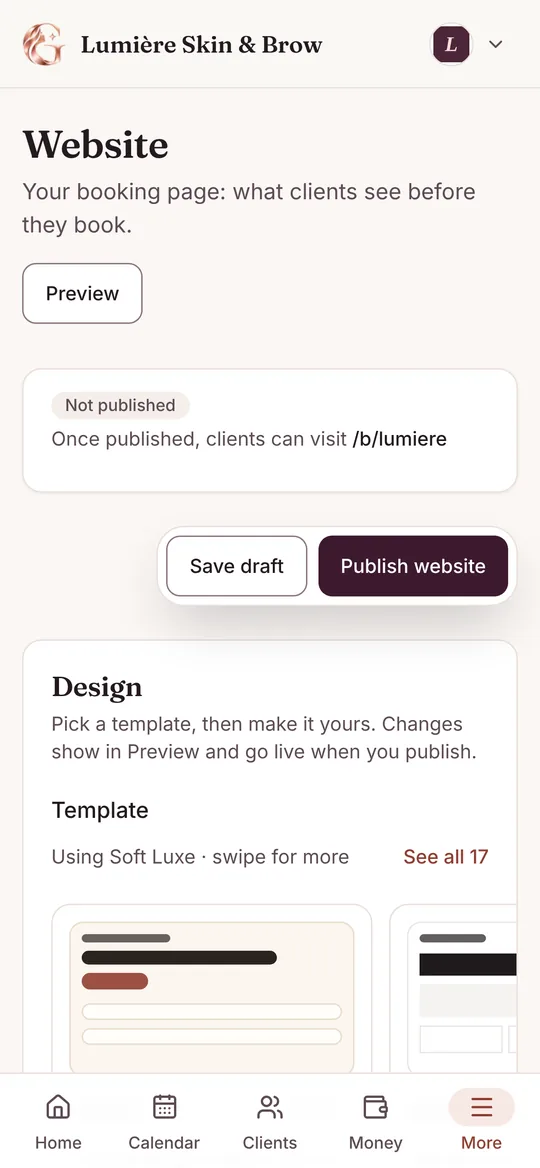
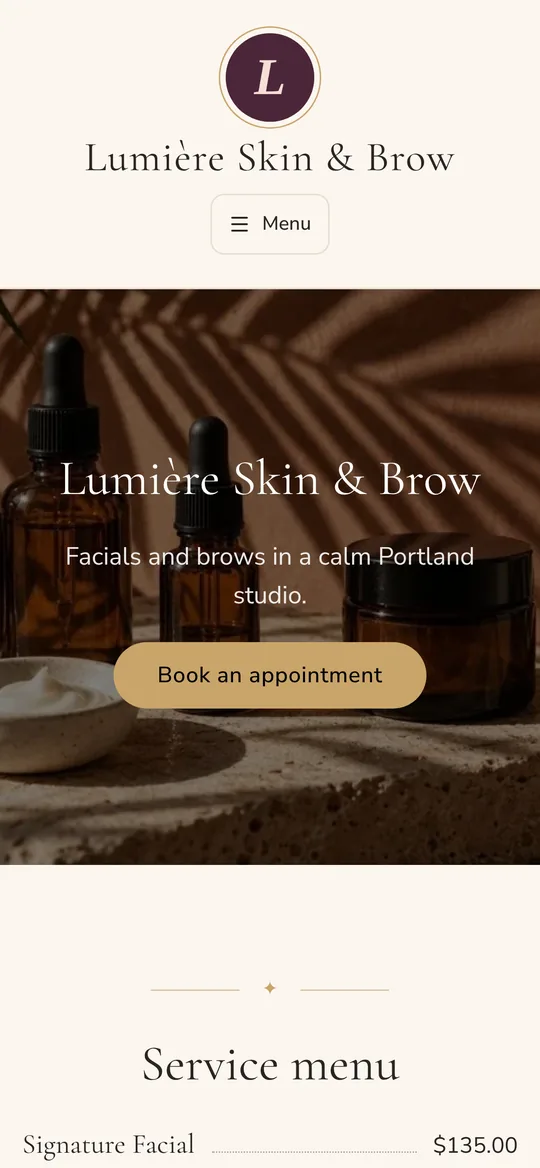
Your booking site is your shop window, so it should feel like your studio. You don’t need a designer: a layout you like, your logo, one strong photo and your colors go a long way. Keep the words short. Clients want to see what you do, where you are and the Book button.
7. Book yourself as a test client
Before you share anything, book an appointment the way a client would: on your phone, from the link, without logging in as the owner. It takes ten minutes and catches nearly every setup mistake.
- Is the service easy to find, and are the length and price right?
- Do the open times match the week you set? Is lunch blocked?
- Did the deposit step work, and does the amount look right?
- Did the confirmation email arrive, and does the link let you move or cancel?
- Does the appointment show on your calendar where you expect it?
In GlamOps, confirmation emails go out as soon as a booking is made, and reminder emails go out 1 or 2 days before, which you choose (and can reword) in Settings → Client notifications. When the test booking looks right, cancel it from the link in the email, just as a client would.
8. Put your link everywhere clients find you
A booking site nobody can find doesn’t book anyone. Put your link in the places clients already look for you, and tell your regulars directly the first time.
- Instagram and TikTok: the link in your bio, plus a Story the day you launch.
- Facebook: your Page’s website or booking link.
- Google Business Profile: your booking link, so people who search for you can book straight away.
- At the desk: a QR code by the mirror or on your card, so clients rebook before they leave.
- Your email signature and any newsletter you send.
Your afternoon, hour by hour
| When | What to do |
|---|---|
| 1:00 | Gather your menu, hours, policies, logo and client list |
| 1:15 | Add your business details and import your clients |
| 1:45 | Set your hours and build your service menu |
| 2:45 | Choose your booking rules and deposits, connect payments |
| 3:15 | Pick a layout, add your logo and photo, publish your site |
| 4:00 | Book yourself as a test client and fix what you find |
| 4:30 | Add your link to your bio, Google profile and the desk |
Coming from another app? See how to switch to GlamOps. Want to see what it looks like for your kind of work? See GlamOps for estheticians, lash and brow artists, nail techs and hair stylists, or compare plans.
Frequently asked questions
How long does it take to set up online booking?
If you have your service menu, hours and policies ready, most solo beauty pros can set up and test online booking in an afternoon. Importing a long client list or writing new service descriptions can add time, but you can publish first and polish later.
Do I need my own website to take online bookings?
No. A booking site from your booking software is enough to start: it shows your services and takes bookings and deposits. If you already have a website, add a Book button that links to your booking page.
Should every service be bookable online?
Not necessarily. Most routine services work well online. Corrections, first-time color and anything that needs a consultation often work better as booking requests you approve, or by phone only.
How much notice should clients give to book?
Many pros start with 2 to 12 hours. Shorter notice helps fill last-minute openings; longer notice protects you from surprise early-morning bookings. You can change it any time.
Where should I share my booking link?
Wherever clients already look for you: your Instagram and TikTok bio, your Facebook Page, your Google Business Profile, your email signature and a QR code at your desk.